Weaving in Ends Without Worry
Learn what really matters when weaving in ends on your knitting projects, and what you don’t need to worry about.

We’ve all been there. You’ve spent hours, days, weeks, months, knitting or crocheting on a project only to look down and see all the loose ends of yarn hanging out all over the place, just waiting to be woven in.
There are plenty of techniques to weave in your ends in a precise way, but we aren’t worried about that here. Instead, I’ll show you how to weave in ends securely, quickly, and good enough so you can move on to your next project!
What’s the Point of Weaving in Ends?
You should weave in ends to make sure your work doesn’t unravel, and your ends aren’t showing on the outside of your projects. The goal is to weave in ends in a way that doesn’t show on the front of the knitting, or mess with the stretch or drape of the fabric.
You want to be sure to leave a couple of inches of yarn at your ends. If you cut the yarn too close, it can come undone and your work will start to unravel.
If you don’t care about yarn strands hanging out, you can just be done with your projects. You don’t have to weave in ends if you don’t want to! At the toe of a sock or the crown of a hat, as long as the loose end in on the inside, no one will see it anyway!
But for those times when your ends do show, here are some ideas for how to hide them.
What You Need to Weave in Ends
There aren’t a lot of things you need to weave in ends, but here is what you do need.
Tapestry Needles
Tapestry needles have a large eye and a blunt tip. They are not good for sewing, but they are perfect for weaving in ends.
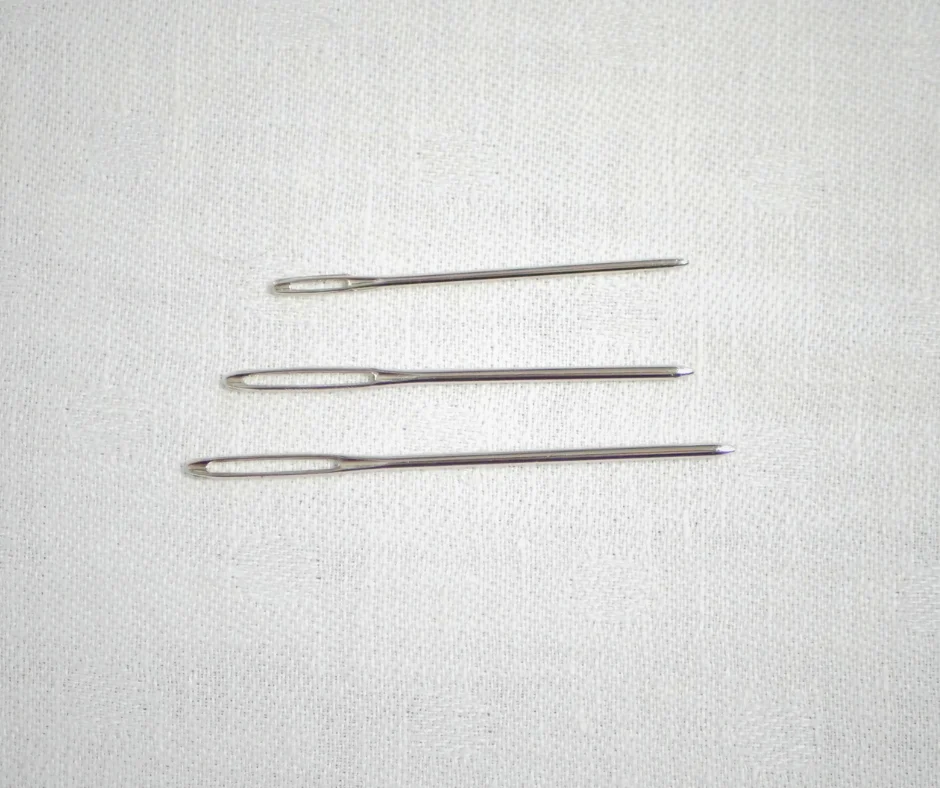
These come in a variety of sizes. If you are knitting with fine yarn and small needles, a smaller tapestry needle will work better. Of course, if you are knitting with thicker yarn, a bigger needle will be easier to use.
If you have two or three different sized tapestry needles, you should be fine for weaving in ends for any project.
Scissors
You can use any pair of scissors to trim away ends. I just use whatever pair of scissors I find first. If I am out and about with my knitting, I might take a small pair of snips.
But all my patterns say to break my yarn!
Breaking your yarn instead of cutting it gives an uneven edge to your yarn that will blend into your project better.

With that being said, I really haven’t noticed a huge difference between ends I’ve cut versus ends I’ve actually broken.
If your yarn is difficult to break and hurts your hands, or you just prefer to use scissors, it is completely ok to cut your yarn. If someone tells you it’s not, have them break your ends for you instead.
Weaving in Ends
Ends to the Back
The first thing you need to do when weaving in ends is to make sure your yarn ends are to the back or the inside of your work.
When you finish the toe of a sock or the crown of a hat, there is usually some yarn sticking out. Use a tapestry needle to bring any ends on the outside of your work to the other side.
Just thread the needle with your yarn end, poke the needle through the fabric near the base of the yarn end, and pull through.
If your yarn ends are at the edge of your work, just make sure you weave them into the wrong side.
Weaving in Ends in Garter Stitch
Garter stitch is one of the easier fabrics to weave in ends. There is enough texture to work with that ends just blend in.
There are a couple different ways you can weave in stitches on the back of your garter stitch knits.
First, you can follow one of the ridges, alternating going up and down each stitch.

This hides the ends really well, just make sure you don’t pull the yarn so tight it changes how stretchy the fabric is.

You can also tuck in your stitches across ridges. This method is faster to do, but slightly more noticeable on the backside. You can do this vertically or at a diagonal.

Either way shouldn’t show on the front of the knitting.

Weaving in Ends in Stockinette Stitch
Stockinette stitch is much smoother than garter stitch, which makes it a little bit trickier to effectively hide the ends.
If you don’t mind taking a little extra time, you can make a serpentine pattern on the back of your stockinette. This hides the yarn from the font and keeps all the stretch and drape in the fabric. You might get a little extra bulk where the woven in end is.

If I can’t be bothered to weave in my ends this precisely (which for me is most of the time), I will quickly guide my yarn through the loops of purl side stitches, at a diagonal.

This tucks in the yarn enough to keep it secure, and the diagonal direction makes it less noticeable on the right side.

Weaving in Ends in Rib Stitch
The easiest way I have found to weave in ends on the back of a section of rib stitch is to spiral the yarn around the edge of a vertical knit stitch ridge.

This goes very fast and is invisible on the outside of the fabric. I weave in all of my sock cuff ends this way!

Helpful Hints
Pay Attention to the Colors
If you are working with multiple yarn colors, try to weave in your ends where the same colors are.

If you weave in ends with a contrasting color, it is more likely to show through.
Get Creative
There is no way to cover every possible way to weave in ends. Each project is different, and what is a great place to weave in ends on one project won’t work in another.
If your project has an i-chord border, you can pull your yarn through the middle of it and no one will ever see it.
Depending on the construction of your knitting, there might be a seam that would make the perfect place to hide some yarn ends.

If you are doing some faire isle colorwork, you could tuck your ends into your floats.

I am a firm believer that if you are happy with what you are doing, you are doing it right. There is more than one way to weave in ends!
So weave in your ends however you want, or not at all, and happy knitting!
If you want to learn more knitting skills, take a look here.
Do you have any tricks for weaving in ends? Let me know in the comments below!