DIY Curtains – FREE Sewing Tutorial
Follow this FREE DIY curtians tutorial to make your space feel like home, even on a budget!
I have a love hate relationship with the windows in my home. As much as I love having natural light and being able to see the world outside throughout my day, I hate it when people can see me from outside. I have to have some sort of window covering to feel comfortable in my space.
Everyone should be able to find comfort in their space, no matter where that is. But if you’ve looked at the prices of window coverings, it can feel like they are out of any normal budget. Fortunately, curtains are a great beginner sewing project. Not only can you save money, make a more sustainable choice, get custom decor, but you can learn a new skill that is useful in so many ways!
Lets get sewing!
What You’ll Need to Sew DIY Curtains
Tools
This is a sewing project, so you’ll need the usual tools for sewing.
- Something to Sew With
- You can use a sewing machine and/or a needle and thread. Use what you have and are comfortable using. There are a lot of long, straight seams in these curtains, so they wouldn’t be difficult to sew by hand, but might take a long time.
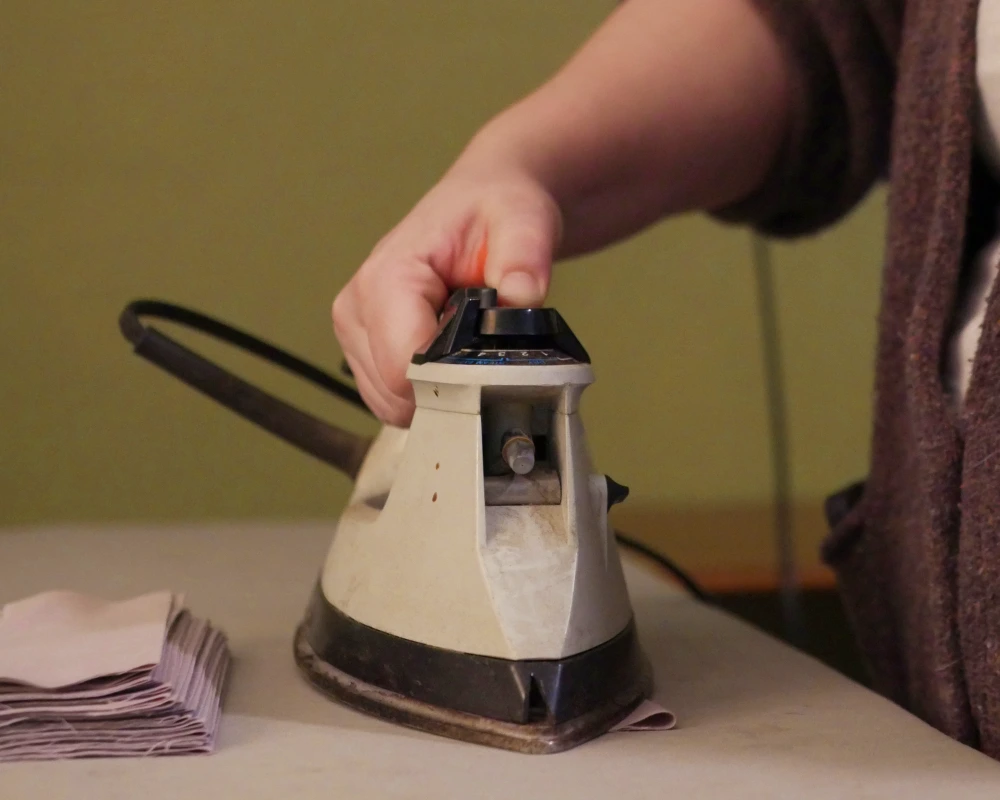
- Something to Iron With
- It feels like I say this every time I do a sewing project, but a big part of getting clean, finished results with your sewing projects is ironing. This project in particular relies on ironing throughout the whole process.
- Something to Hold Things Together
- You’ll want some straight pins, quilting clips, or anything else you like to use to keep fabric together before you sew it.
Materials
Curtain Fabric
The best thing about making your own curtains is you get to pick exactly what they look like! You can make them to fit any size window and use any color or pattern of fabric you like to perfectly match your personal style. Before you go buying curtain fabric, you’ll need to figure out how much fabric you’ll need, what kind of fabrics to look for, and where to shop for fabric.
How Much Curtain Fabric Do You Need?
How Big Are Your Windows?
First, you need to figure out the size of the area you want your DIY curtains to cover. This will be at least as big as the window you are decorating, but you might want your curtains to be wider or longer than your window. Make sure you know the total size you want your curtains at the beginning.
How Much Gathering Do You Want?
Next, you need to figure out how much extra width you want. Most curtains are actually wider than the space they cover so they have decorative pleats or gathering, even when they are closed. Even if you don’t care about the look of extra fabric, it makes completely covering the window a lot easier if you have a bit of wiggle room from side to side. I recommend using at least 25% more width than the size to cover, but you can go up to two times the amount of fabric. For these curtains, I added about 50% extra width.
The added width doesn’t have to be an exact measurement, but it can give you a rough range of sizes you need so you know what to look for when you go fabric shopping. For example, if you want to cover a 80 inch wide window, you know you want at least about 100 inches of curtain width, but you could go up to 120 or even 160 inches.
How Many Panels
Once you know these dimensions, you have a good idea of what amount of fabric you will need. Keep in mind, you most likely will want to make two (or more panels) so your curtains can open in the middle. If possible I like to use the entire width of a piece of fabric, from selvage to selvage, for each curtain panel. This makes sewing the edges super easy, and I know my panels will be the same width. Using the example window from the previous section, I would want to make two curtain panels to cover an 80 inch wide window. If I found fabric that was 50, 55, or 60 inches wide, I would just use the whole width for each panel. If it was a narrow fabric, only 40 inches, I would probably either make three panels, or sew extra fabric to the sides to make wider panels.
For the curtains I made this time, I made two panels. For the super wide window in my living room I used four panels. It all depends on the space you want to cover, how you want your curtains to function, and how wide your fabric is.
What Size to Cut the Fabric
Now that you know the dimensions you want your final curtains to be, you need an extra few inches (or centimeters) on each side of each panel for finishing the edges, and at least 10 inches of extra length to finish the top and bottom, and have space at the top to add the tabs.
Fabric For the Tabs
The final thing you need fabric for is the tabs on the back of the curtain, along the top. You don’t have to use same fabric for the tabs that you used for the curtains, they will hardly show.
You will use 4.5 inch (11.5 cm) X 6 inch (15 cm) rectangles of fabric to make the tabs. How many you need depends on how wide your curtains are, so the amount of fabric you need for the tabs varies. If you have a fabric stash, you probably have something you can use already. Otherwise, get a yard or so of something cheap and sturdy that wont’ be too distracting from your main fabric.
What Kind of Fabric To Use
Now that you know how much fabric you’ll need, you need to know what to look for. You can make curtains from a wide variety of fabrics. The main criteria I look for is a woven fabric that doesn’t stretch.
Another thing you’ll want to consider is how much light you want to come through when your curtains are closed. In general, the thicker the fabric, the more light it will block. You should also pay attention to how tight the weave is. Any spaces you can see in the fabric will let more light in.
Where To Find Fabric For Curtains
There are a few chains of craft stores that can be found most places in the US where you can buy fabric. They usually have a good selection of quilting cotton and some other options. For large curtains, this can get expensive fast. If you can catch a sale or a clearance section, you might find a good deal.
Online, there is an endless amount of options. Dead stock (i.e. leftovers of fabrics no longer in production) is a great way to get premium fabrics at a discount. You can also look for specific materials (wool, linen, cotton) if that is important to you.
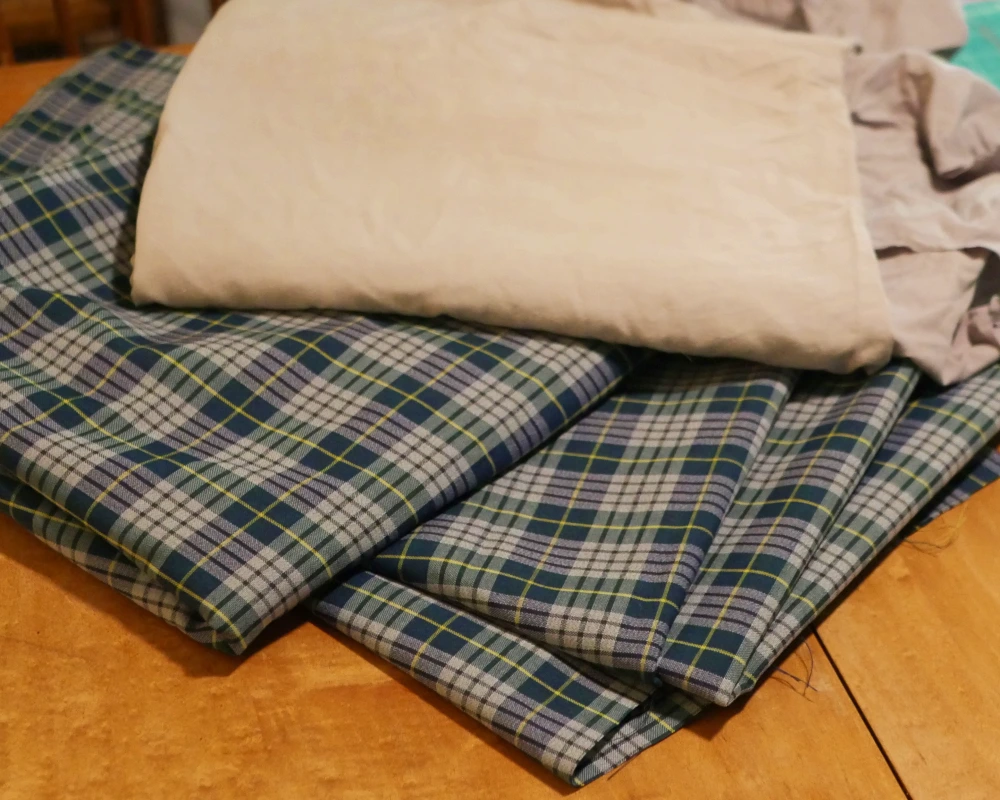
Don’t forget to look at local thrift stores! This has been such a great way to build my fabric stash for very little money. There are a few places you can look in each thrift store. Some stores have a place specifically for fabric. I’ve gotten yards and yard of beautiful fabrics for 5 to 10 dollars. This is how I found the fabric for the tartan curtains I made! You can also look in the home goods section at the bedding and even used curtains if you want to try to skip sewing altogether!
You can also keep an eye out for creative reuse centers (aka crafting thrift stores) near you! The amazing Charlie from The Stitchery on YouTube has put together a spreadsheet of these kind of thrift stores to see if you have one near you! These are also great places to find needles, pins, thread, and even used sewing machines.
Now that you have your fabric, let’s get sewing!
Sewing Your Own Curtains
DIY Curtains Tutorial
Make your home feel cozy with these easy DIY curtains!
Materials
- Curtain Panel Fabric - The length you want plus 10in by the width of your window plus an extra 25% (or more). I recommend non-stretch, woven fabrics.
- Curtain Tab Fabric - Each tab is 4.5in X6in. Estimate at least 1 tab per 5 inches of curtain width
- Thread
Tools
- Something to sew with - either sewing machine or needle and thread
- Something to iron with
- Something to Hold Things Together - pins, quilting clips, basting thread etc.
Instructions
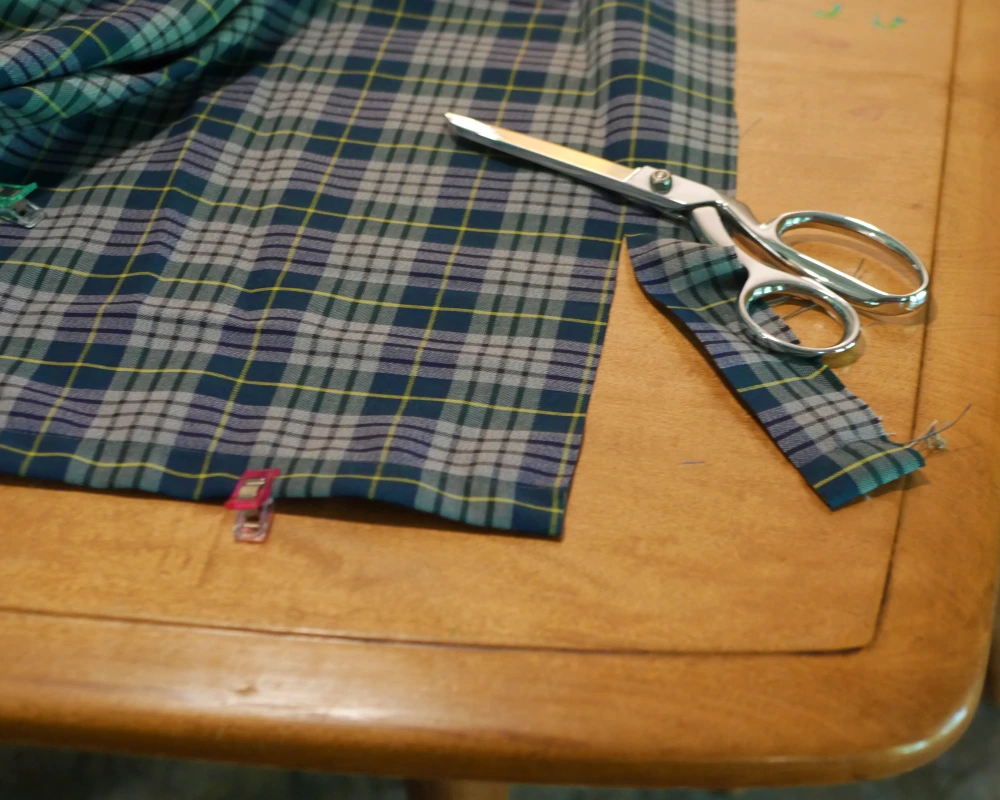
- Cut Out Your Curtain Panels. Length is desired length plus 10in. Width is width of window plus an additional 25% or more. Cut into as many curtain panels as desired.
- Cut Out Your Curtain Tabs into 4.5in x 6in rectangles. Estimate approximately 1 tab per 5 inches of curtain width.
- Sew Curtain Edges. Fold and iron each side of your curtain panels in 1in twice and sew down. If you are using the full width of your fabric and leaving on the selvedge, you can fold once and sew.
- Sew Your Tabs. Iron each tab in half lengthwise, right side of the fabric to the inside. Then sew the edges together with 0.5in seam allowance.
- Iron Your Tabs. Press open the seams on the tabs, so the seam is in the center back. The flip the fabric inside out and press down again. Finally, iron each edge of each tab toward the back 1 inch.
- Prepare Curtain Panel Top. Fold down the top of each curtain panel to the back of the fabric 4 inches and iron. Then fold another 4 inches and iron again.
- Sew Tabs to Curtain Panels. Evenly place your tabs along the top of each curtain panel so that one edge of each tab is tucked under the folded and the other edge falls right below the top edge of the curtain panel. Pin or clip the tabs into place. Sew around all four edges of the top 4 inches of each curtain panel to attach the tabs.
- Even Out Curtain Bottom Hem. Hang up your curtains and ensure the bottom edges are straight and even. Mark where to trim. Take curtains back down. Trim bottom edges as needed.
- Finish Bottom Hem. Iron bottom hem of each panel toward the back of the curtains 1in. Fold and iron an additional 1in. Sew hem down.
- Hang Curtains and Enjoy!
Notes
Thrift stores and creative reuse stores are great places to find curtain fabric for cheap.
Work with the fabric you have. Use the full width of your fabric, add additional panels, sew extra fabric to the bottom. There are so many ways to customize your curtains!
Cutting Your Fabric
The first step to sewing your own DIY curtains is to get the fabric ready. Make sure you’ve washed your fabric then ironed out the wrinkles. Then you can cut your fabric.
Curtain Panels
Start by cutting out your curtain panels. The easiest way to do this is to use the whole width of the fabric you are using and cut it to the length you need. Make sure you have at least two extra inches of width to finish the side seams.
To determine the right length, find the length you want your final curtains to be, and add at least 10 inches. You need a minimum of 8 inches extra at the top, and a minimum of 2 inches extra at the bottom of your curtains.
Remember, you can have some flexibility in the exact length and width of your curtains. Try to work with the fabric you have and keep things simple.
Tip: If your main curtain fabric is a bit too short for your window, you can add a second fabric to the bottom. You will need the same width of fabric as the rest of your curtains, and the length will be double what you need to add, plus two inches.
Hanging Tabs
For the tabs that will hold the curtains up, cut out rectangles 4.5 in (11.5 cm How many you need will depend on how wide your curtains are, and how close together your want your tabs. The spacing of these will determine how deep the pleats are when your curtains are open. I like to place my tabs about 5 inches apart.
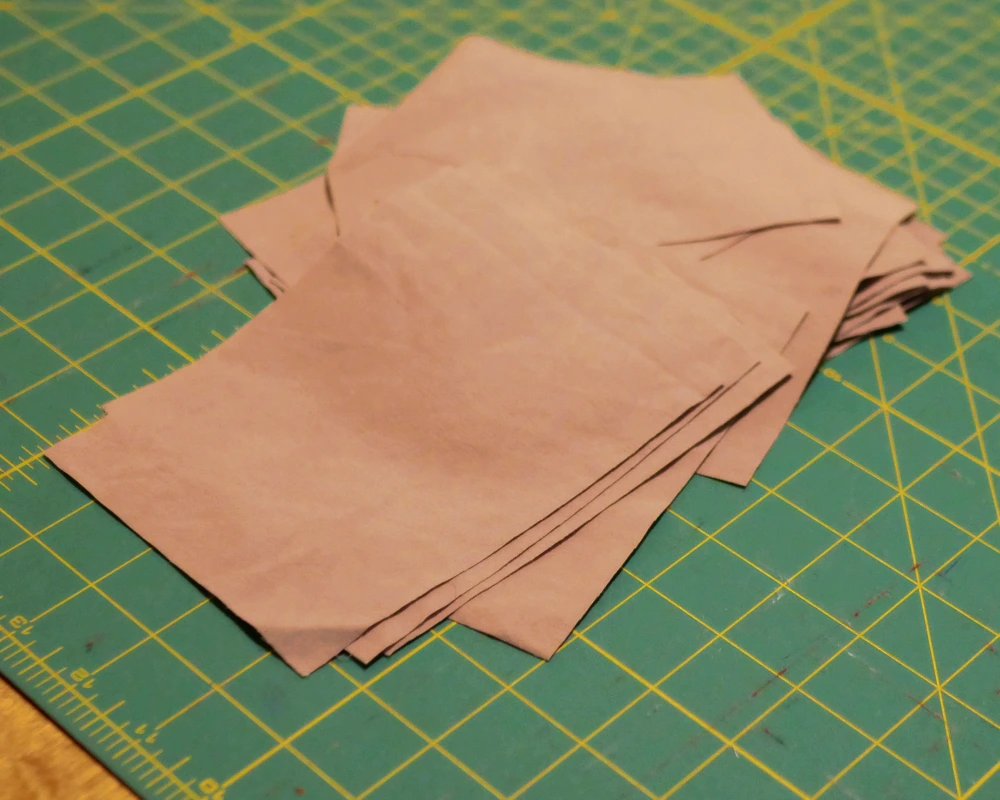
You’ll want a bunch of 4.5 inch X 6 inch (11.5 cm X 15 cm) fabric rectangles. How many you will need depends on how wide your curtains are and how much space you want between each tab. To figure out how many tabs you’ll need, you can follow this formula:
CW = Curtain width of one panel
TS = Space between tabs
P = Number of panels
CW – 1.75 in (4.5 cm)
TS+1.75 in (4.5 cm) X P
If you prefer not to do that much math, you can just make a huge stack of these at once and know you might have to make a couple more or have a few extras left over. To be completely honest, that is exactly what I did. I ended up using the extra tabs on another curtain later.
Curtain Tab Math
Sewing Your Curtains
Now that your fabric is all cut out, we can finally start putting the curtains together!
Prepping your Curtain Panels
I like to start by getting the sides of my curtains finished. How to sew the sides of the curtains depends on how you cut your fabric.
If you are using the whole width of your fabric, iron your selvage to the back of your fabric and sew it down.
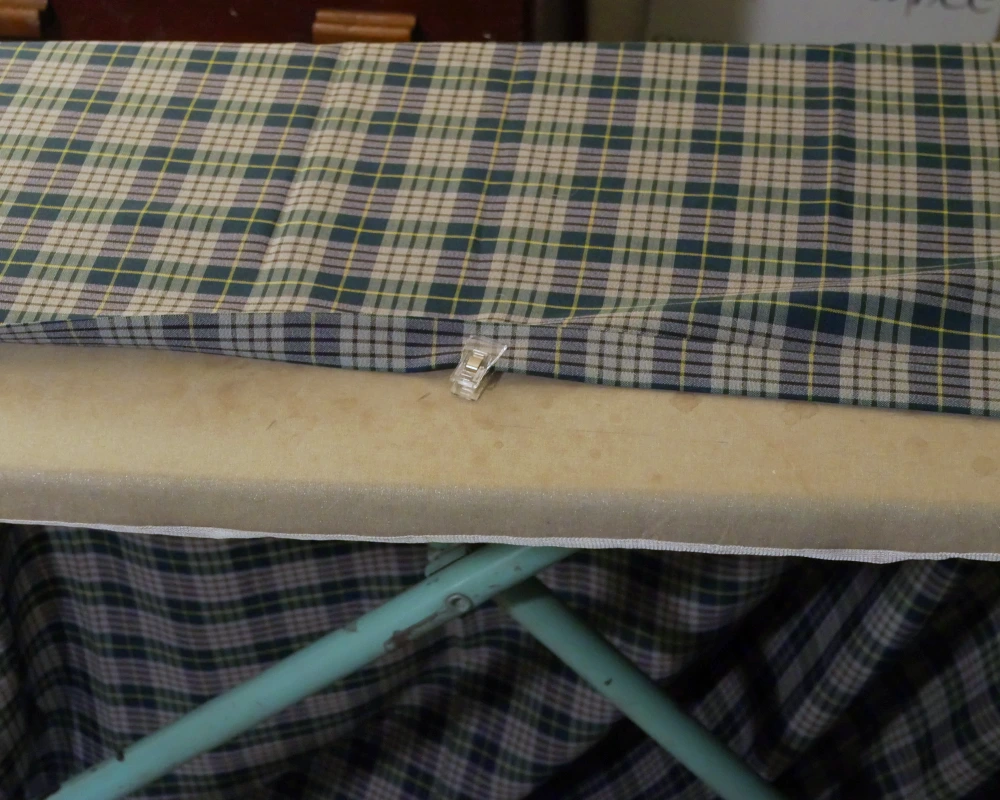
If you have raw edges on the sides, turn the edges over 1 inch to the inside and iron, then turn in another inch and iron to cover the raw edges. Then sew your side seams.
Once your side seams are finished, you can get the top of your curtains ready. Fold down the top edge of your fabric 4 inches towards the back and iron down. Then, fold down another 4 inches and iron again. Don’t sew this down yet! We will sew the top of the curtains at the same time we attach the tabs!
Note: If you want some extra fabric to stick up at the top of your curtains, above the curtain rod, you can add extra fabric to the top. Fold down 5 or 6 inches instead of 4 to get this effect.
Sewing the Curtain Tabs
Next, we’ll get the curtain tabs ready. I’ll be honest, I don’t love this part. It’s tedious, it’s repetitive, and there is a lot of ironing small bits of fabric. The results are worth it, but I don’t want anyone to have the impression that every step of the creative process needs to be enjoyable. I found that making a bit of an assembly line for the tabs made the process go a bit faster.
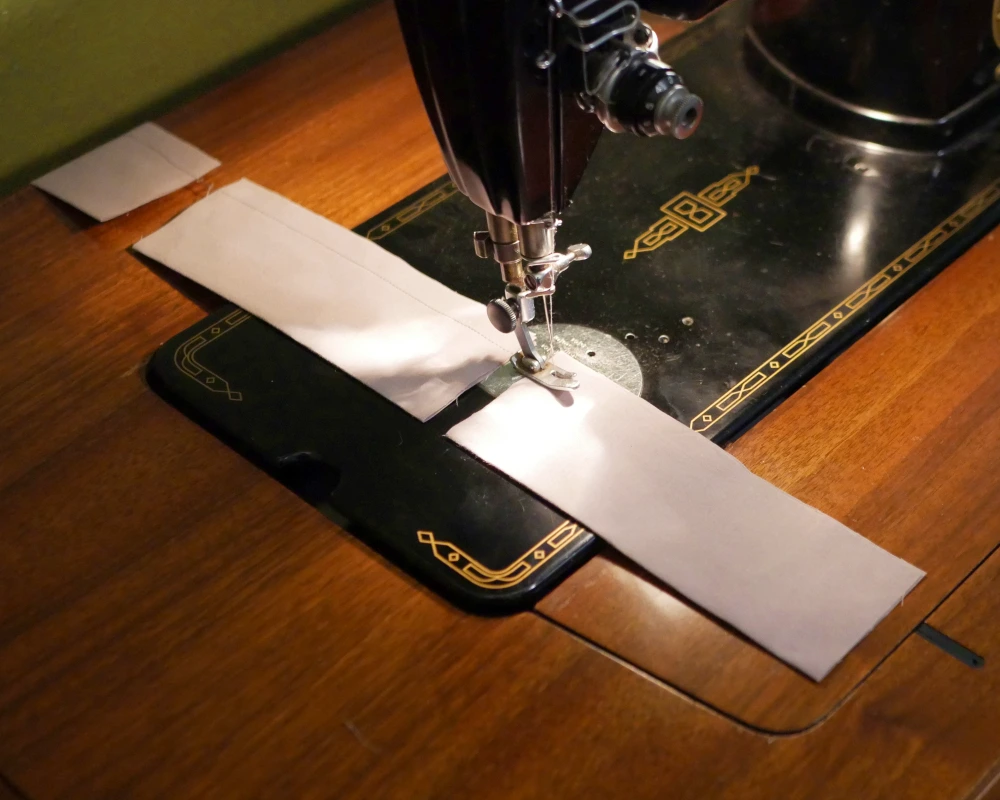
With your tab fabric cut out, iron each piece in half, right sides together, the long way (or hot dog fold, if you know, you know).
Sew the folded over edges together with a 0.5 inch (1.25 cm) seam allowance. You can chain all of your pieces together as you put them through the sewing machine and trim all the thread after they are all sewn.
Once the tabs are sewn, it’s back to the ironing board.
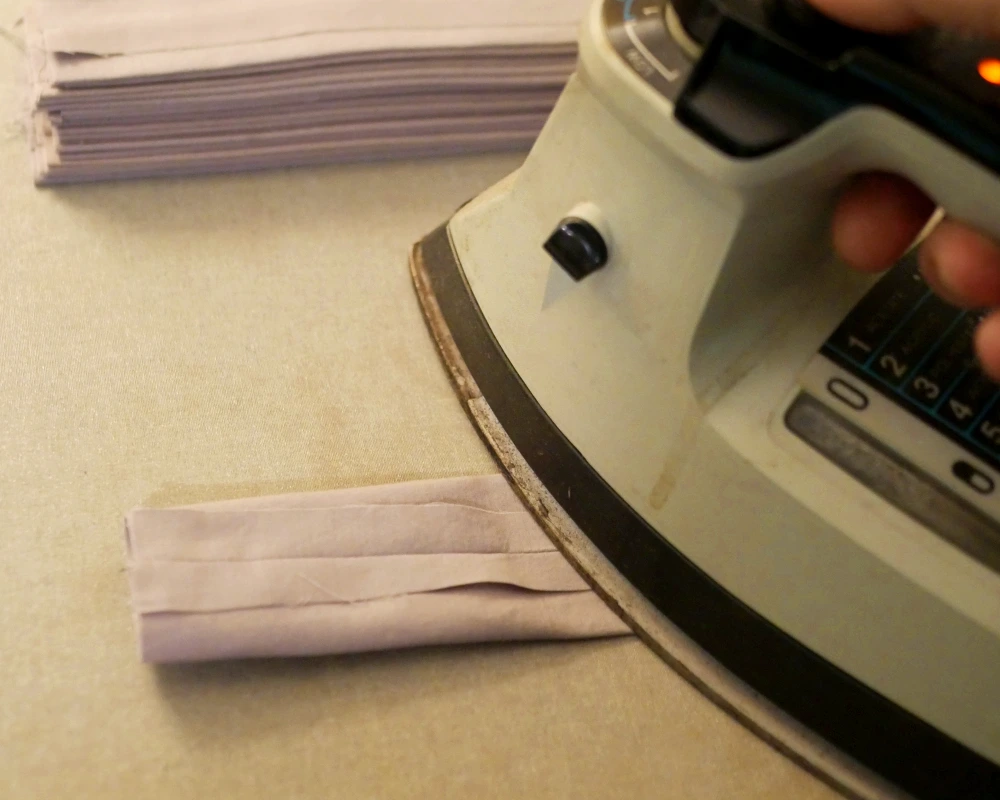
Iron your seams open, then turn your tabs inside out to hid the raw edges, and iron it flat again so that the seam is in the center of one side of your tabs.
Finally, iron each narrow edge (top and bottom) of your tabs back toward the seam side 1 inch (2.5 cm).
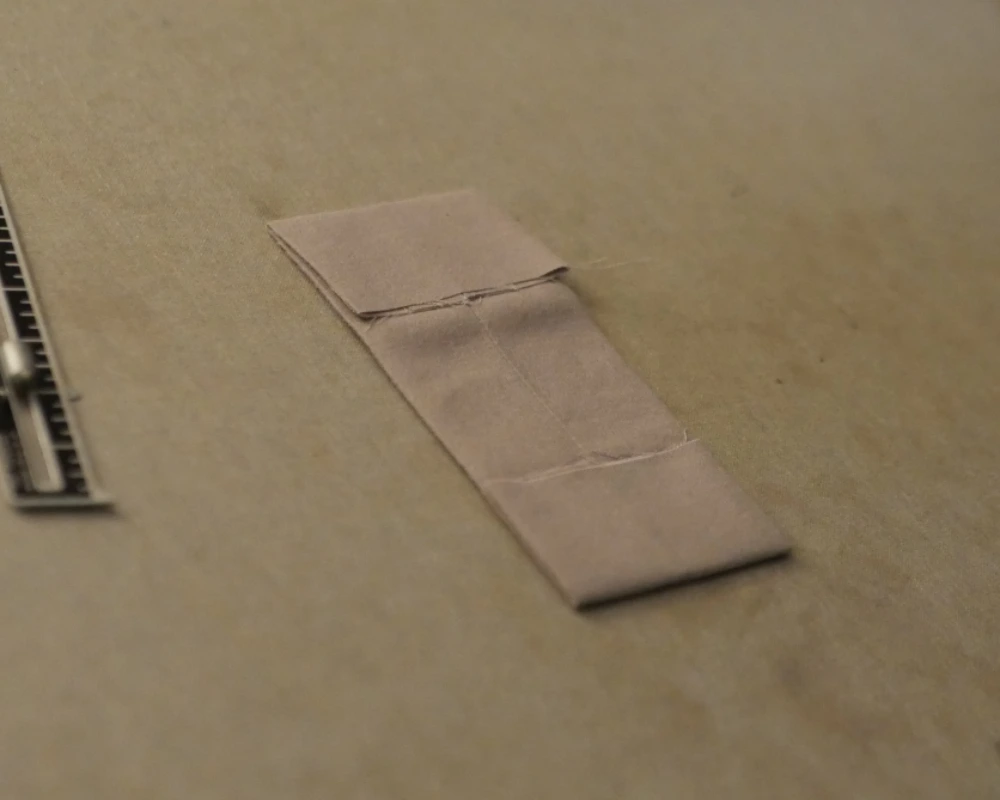
After all of that work, your tabs are ready to add to your curtains!
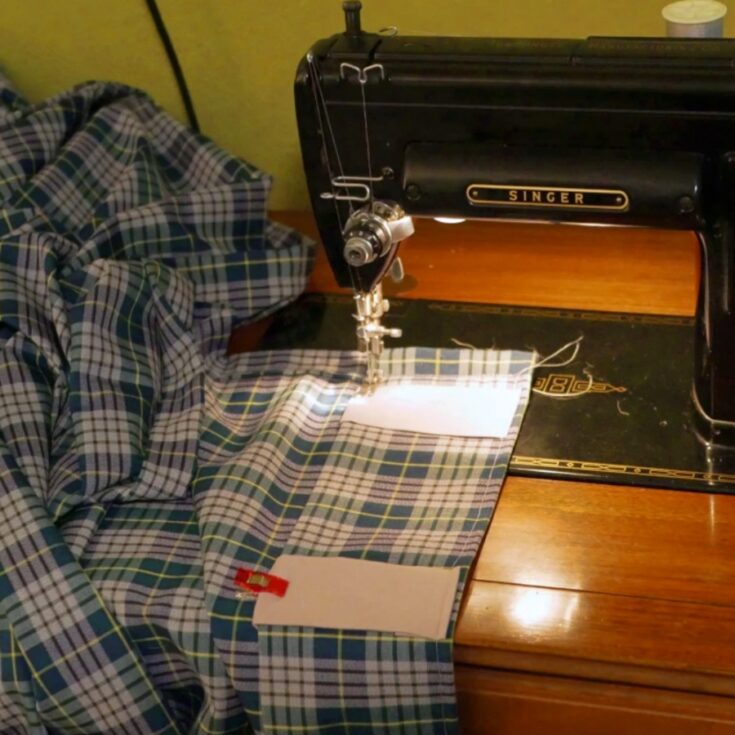
Sewing the Tabs to Your Curtains
Time for more ironing! Iron down the top edge of your curtain 4 inches (10 cm) twice. Then you can start to place your tabs along the top of the curtains, tucking the bottom fold of each tab under the curtain edge you just ironed down. The top fold of each tab should lay just under the top of the curtain.
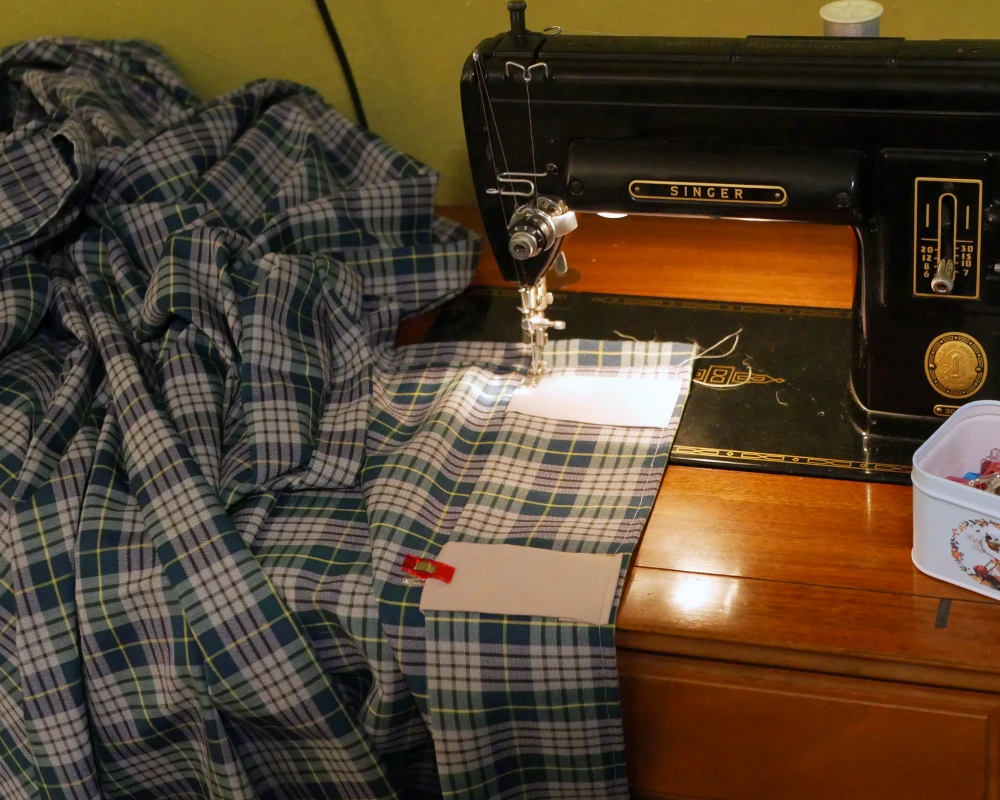
Then, sew around the top, sides, and bottom of the 4 inches (10 cm) at the top of the curtain, using a narrow seam allowance. Just make sure you sew down the top and bottom of each tab so they are secure.
Finishing the Hem
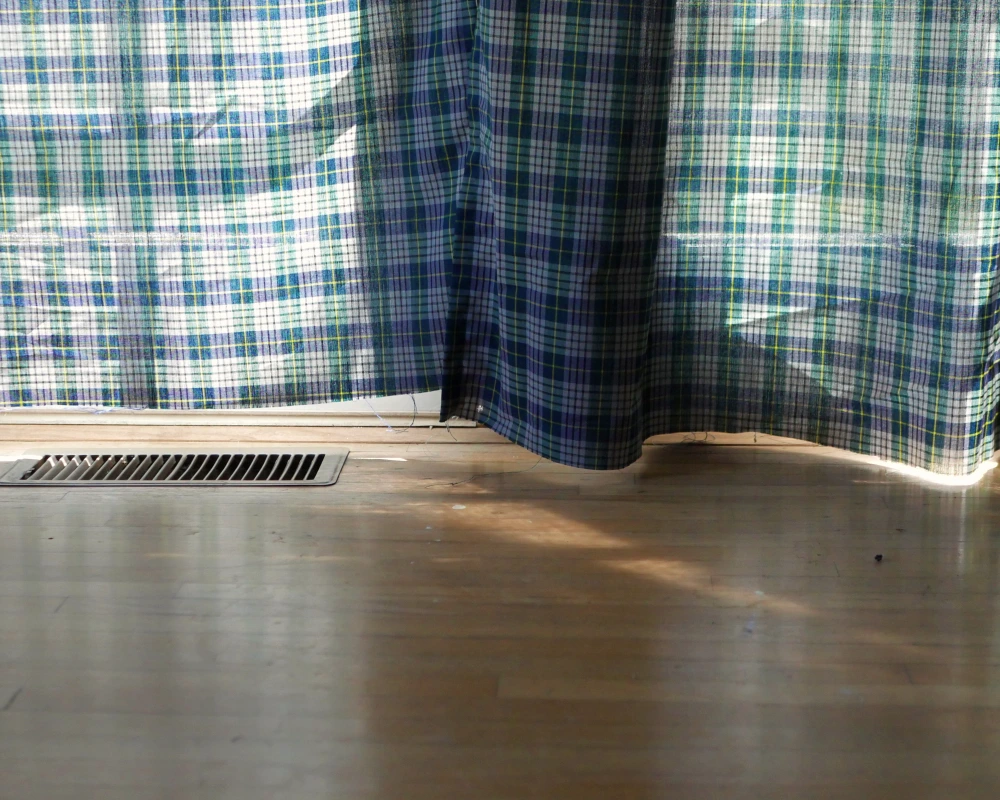
The last thing to do before your curtains are done is to hem the bottom. If you are confident in how straight your bottom edge is, you can go ahead and iron the bottom edge up 1 inch (2.5 cm) twice, and sew it down.
If you are like me and not sure how straight your curtains are, or if they are even, now is a great time to double check that. Before finishing your hem, hand up your curtains on their rod and see if they are even across the bottom and that all the panels are the same length. Mark our any cuts you need to make. Then you can follow the process above to hem the bottom.
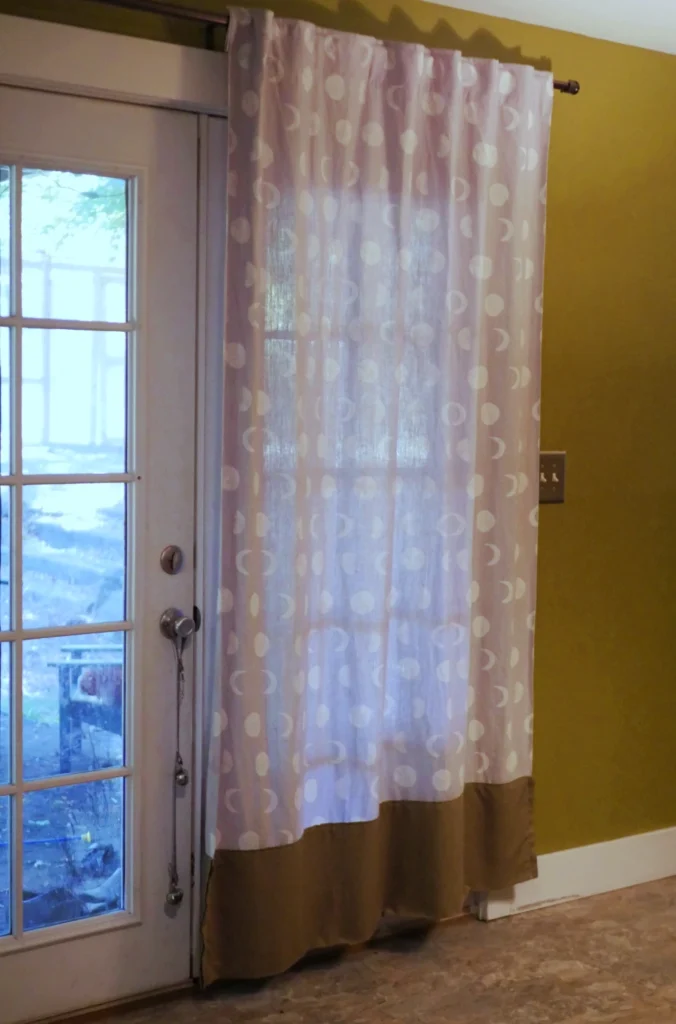
Hang Your Curtains!
Now that your curtains are sewn, all that is left is to hang them up! This style of curtain can work on just about any type of curtain rod, so pick one that fits your style.
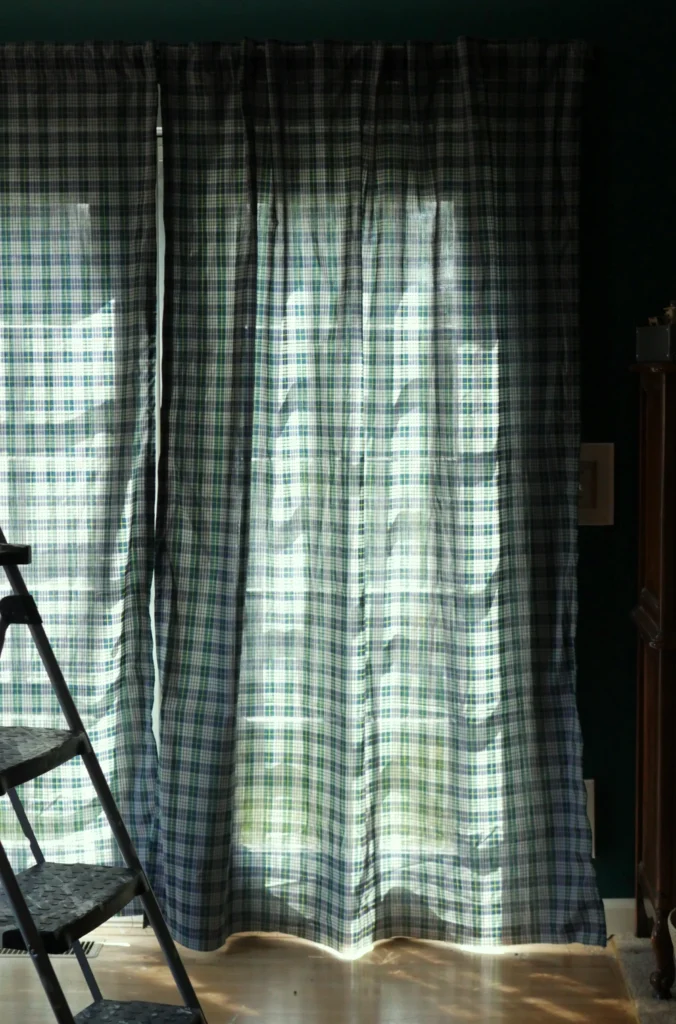
Once I got curtains up in a few rooms this new house really started to feel like home, and knowing that I made them in my own style is the icing on the cake. Not only was I able to save a ton of money by sewing my own curtains using thrifted fabric, but I got to make a more sustainable choice and added things to my home that are good quality and style.
If you want to see more sewing tutorials and inspiration, click here.
What is your favorite way to make your space feel like home? Let me know in the comments below!