Make Your Own Wool Nigiri – Easy Needle Felting Tutorial
Do you love sushi and sheep? Then follow this FREE needle felting tutorial to learn how to make your own wool nigiri.
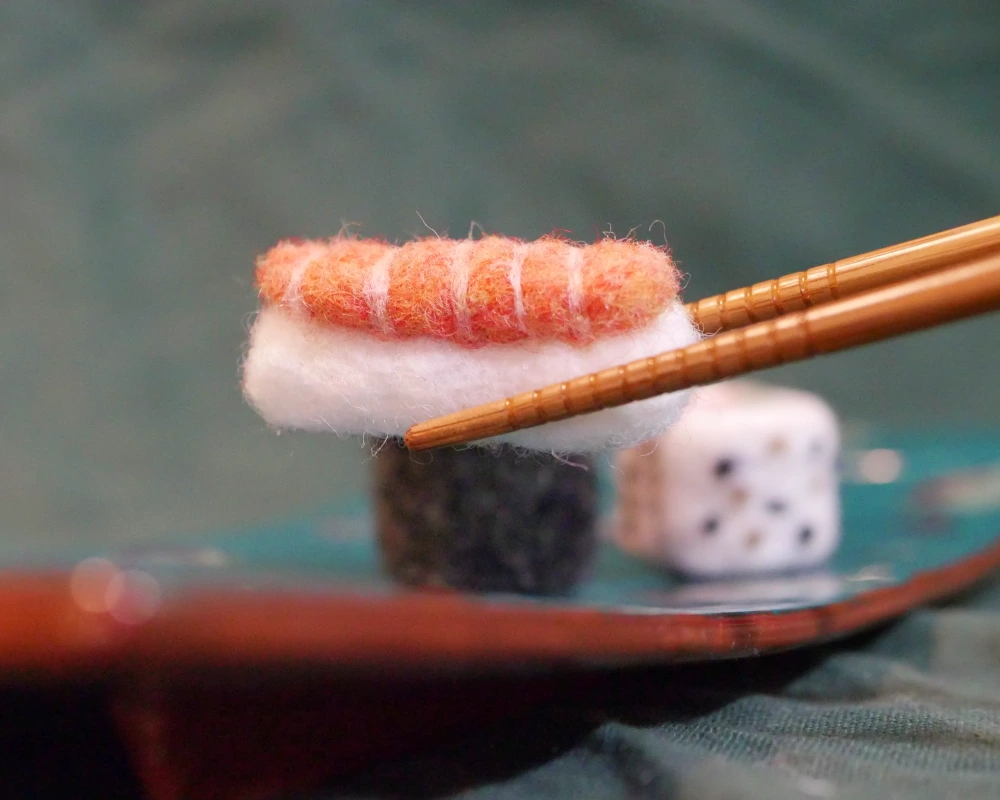
This is a great beginner project for anyone who wants to give needle felting a try. You can learn to make your own sushi that looks (almost) good enough to eat!
What is Needle Felting?
Needle felting is a fun way to sculpt whatever your can think of with wool. Sheep’s wool (and some other fluffy friends) have a special property that allows the fibers to lock together. If you’ve ever accidentally shrunk a wool sweater in the wash, you’ve seen this in action. By using barbed needles you can control how the wool concentrates and make just about any shape you can imagine.
Unlike a lot of crafts and hobbies, it’s easy to get started with needle felting. All you need is a few felting needles, some wool, and your imagination!
I got started with a kit from Desert Breeze, and I am still using it years later. I’m not sponsored by Desert Breeze, but I have been very happy with their products. It was a great way to get started fast.
What You’ll Need to Make Wool Nigiri
If you want to follow along and make your own wool nigiri, there are just a few things you will need.
Materials
Wool in white, orange, and pink. You only need a few grams of each to make your sushi.
Tip: If you don’t have the exact colors you want, you can blend colors together by laying un-felted wool of two (or more colors) over each other with the fibers lined up, and gently pulling the ends apart then stacking them again. Repeat this over and over until the different fiber colors have mixed together to make the colors you want.
Tools
- Felting needles in a variety of sizes: I use 36 (large), 38 (medium), and 40 (small).
- A protective surface to felt on: This can be purchased for this specific purpose (like the wool mat I use) or you can make your own with a thick stack of cardboard or other protective material. It just needs to be something you can work on that can take any stabs that might run into it while you are felting.
- Finger Protection: You can find leather covers for your thumb and pointer finger to help protect your hands from any wayward stabbing. Depending on the project, I sometimes skip this to increase my dexterity, but trust me, you don’t want to get stabbed with a felting needle.
Let’s Get Felting!
Remember: Felting needles are sharp! Always use caution and don’t poke the needle toward your hands or fingers.
Rice
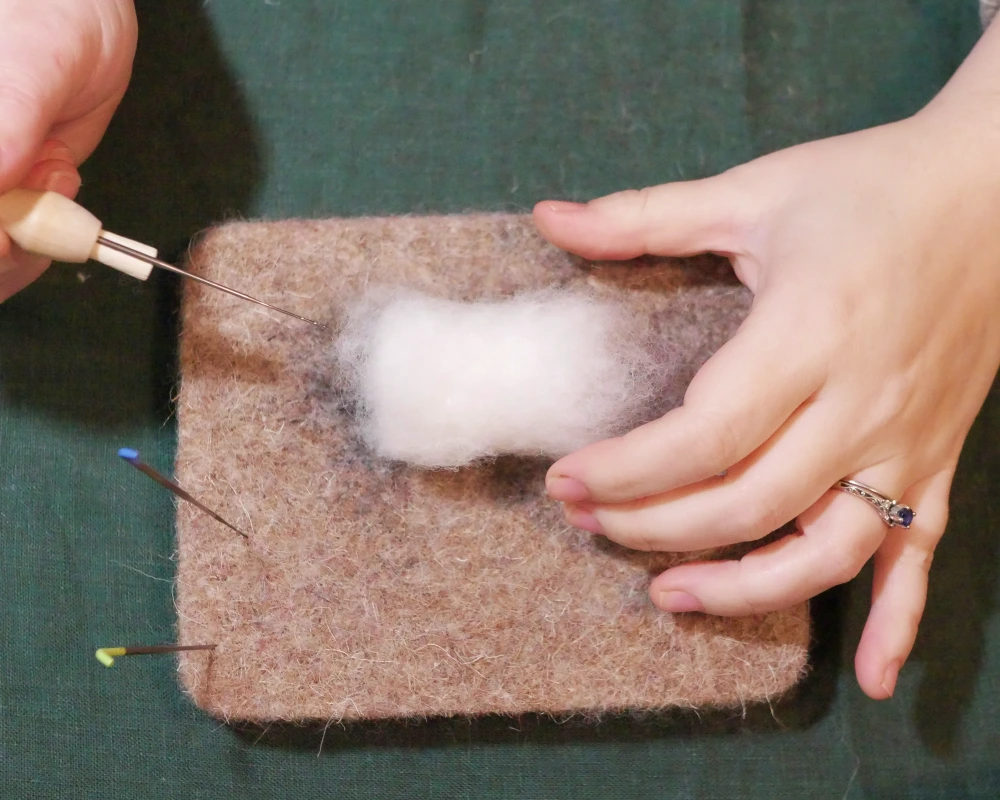
First, start by shaping your rice base. Starting with about a golf ball size piece of white wool, loosely form it into an oblong shape and start to stab at it with a large felting needle. Keep your needle and wool moving so you are felting it evenly across the shape. You’ll start to notice that where the needle goes the wool gets tighter and more compacted.
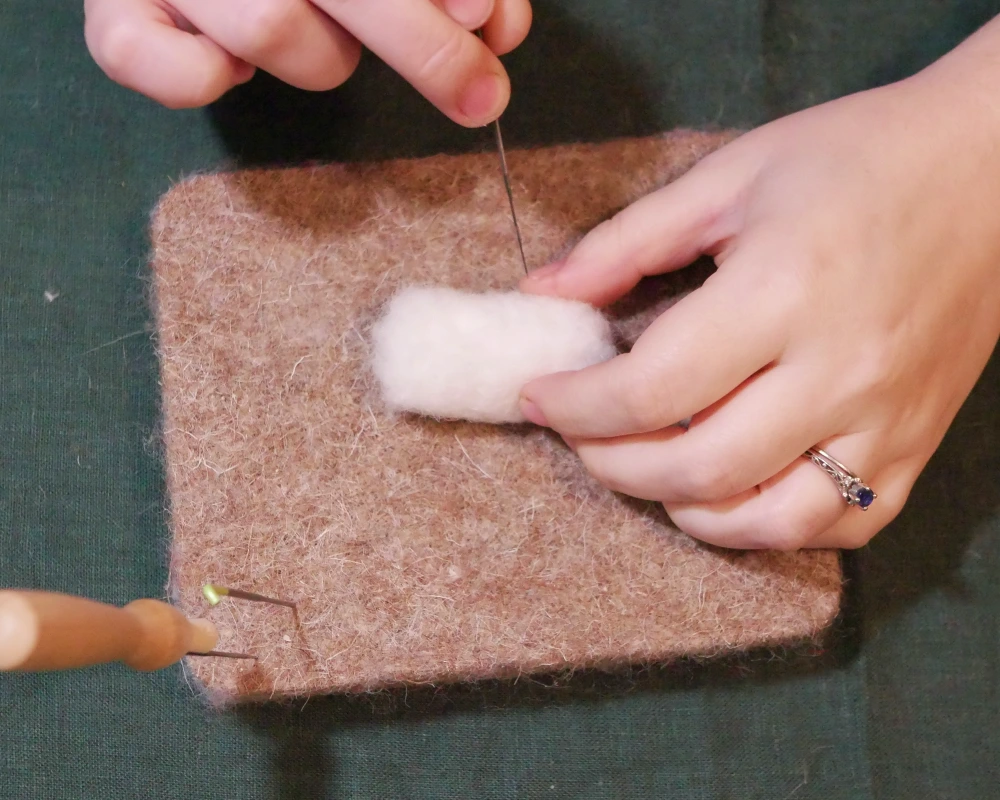
Keep working all around the shape until you have a bed of “rice” that is approximately 2 inches long, 1 inch wide, and ½ an inch tall. Of course, you can make your sushi bigger or smaller depending on what you want to make, just use more or less wool accordingly.
If you aren’t sure how much wool to use, start with smaller amounts. You can always add more wool, but it is hard to remove it.
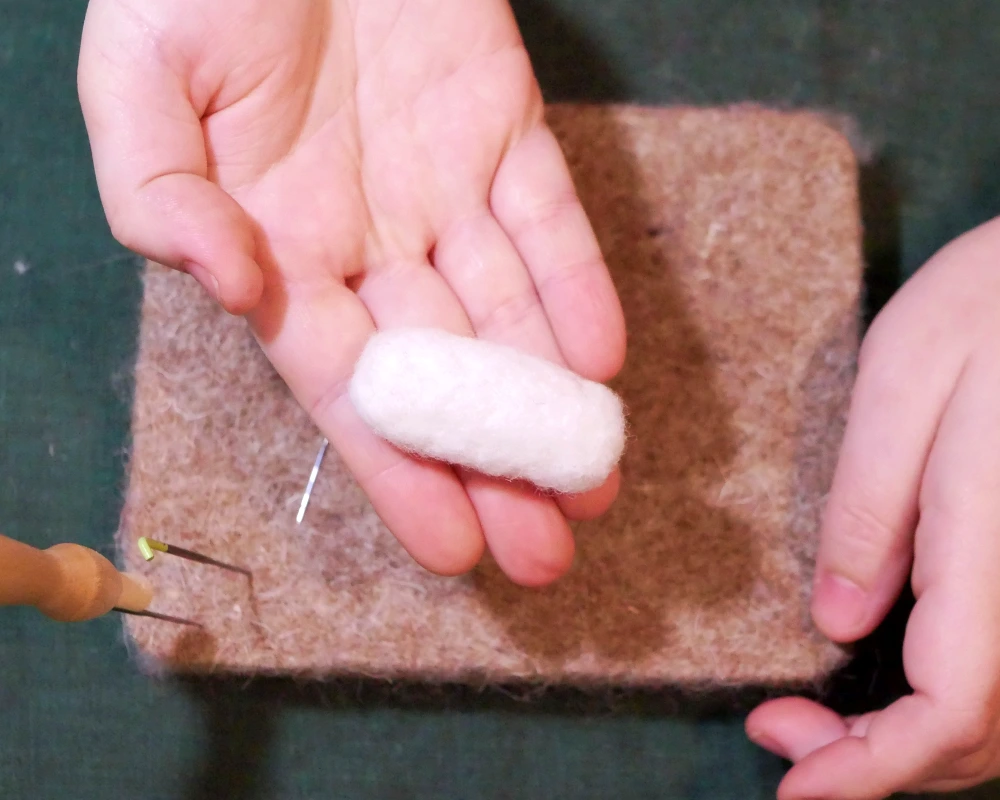
Once your bed of rice is a size and shape you like, it’s time to make your salmon.
Salmon
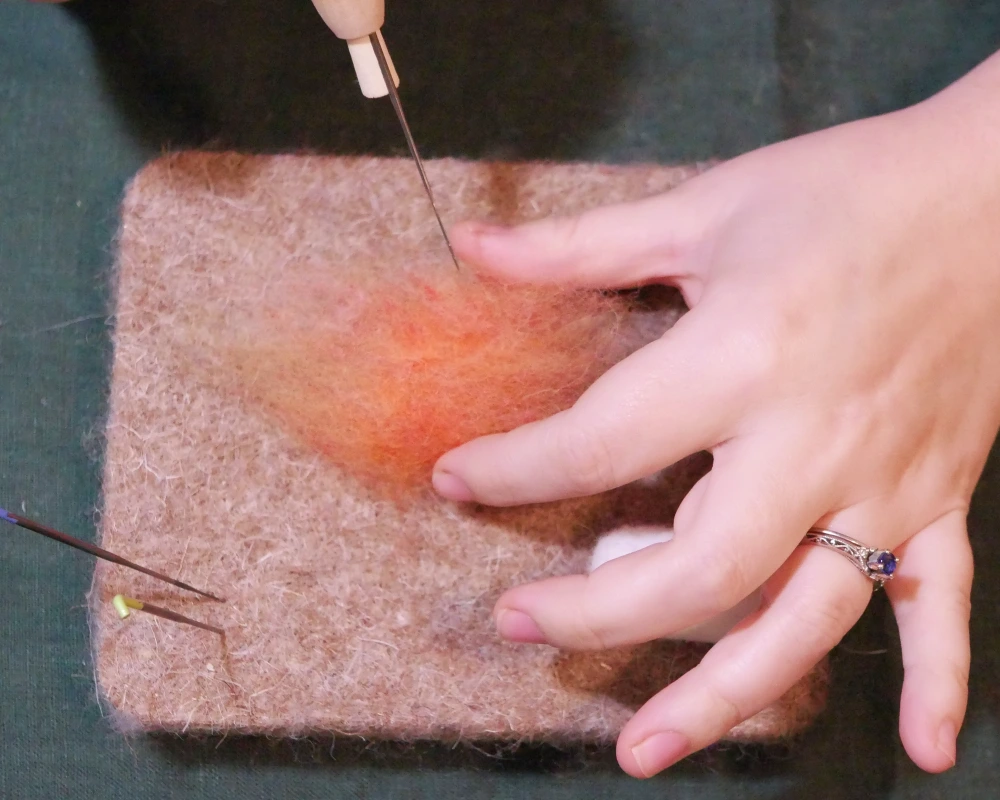
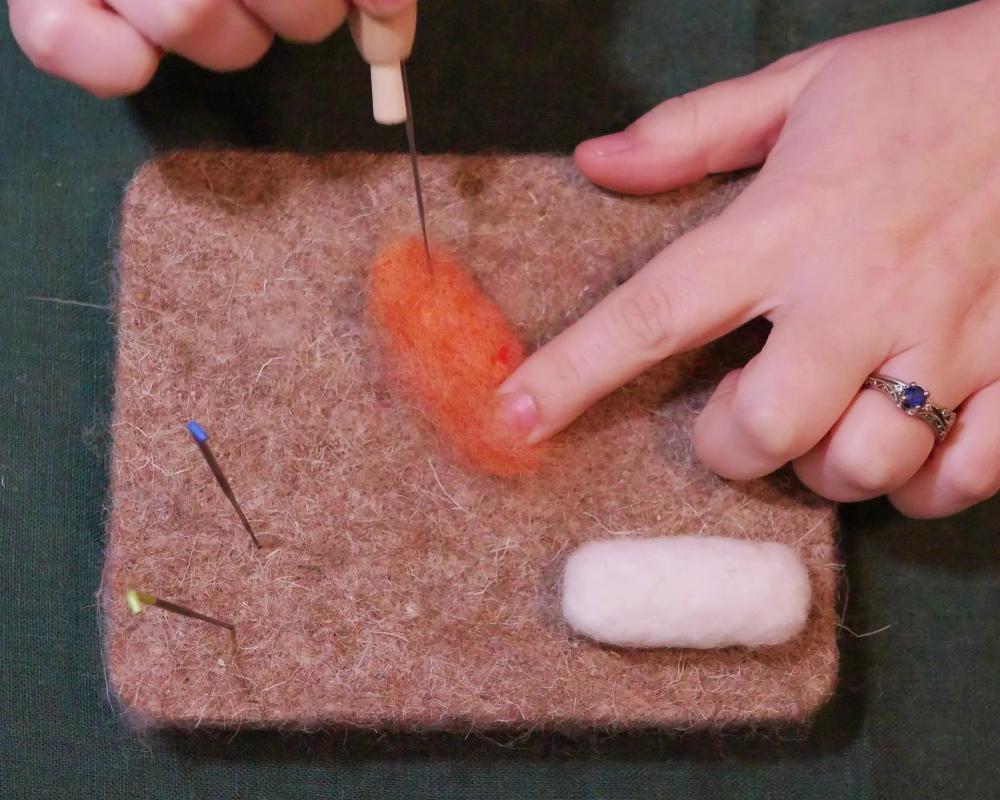
Starting with a piece of orange wool about half the amount that you used for the rice, work the wool into a flat oval shape. It should be big enough to cover the top of the rice. You’ll want to focus on stabbing the top and the bottom of the shape to keep it flat, but remember to stab into all the sides of the “salmon” to make sure the density of the wool is even all over.
Putting it Together
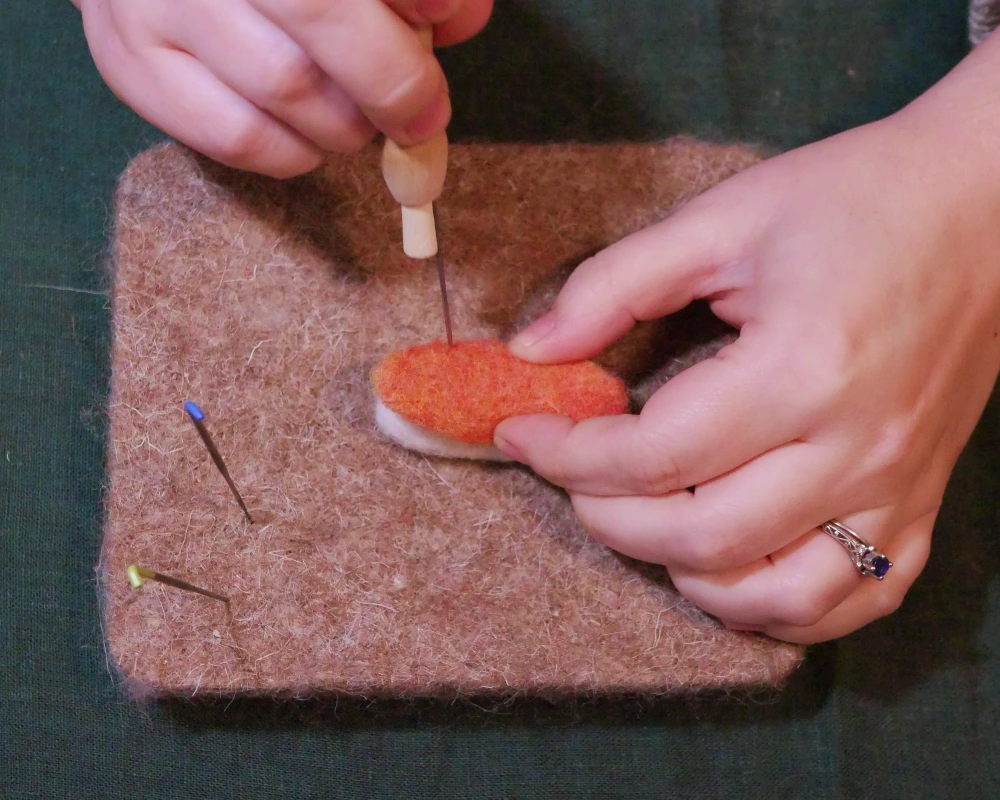
Once the base of your salmon is shaped, the next step is joining the salmon to your rice. Lay the salmon piece on top of the rice and use a medium felting needle to stab all the way through the salmon into the middle of the rice. Keep working through the two pieces until they are firmly connected.
Finishing Touches
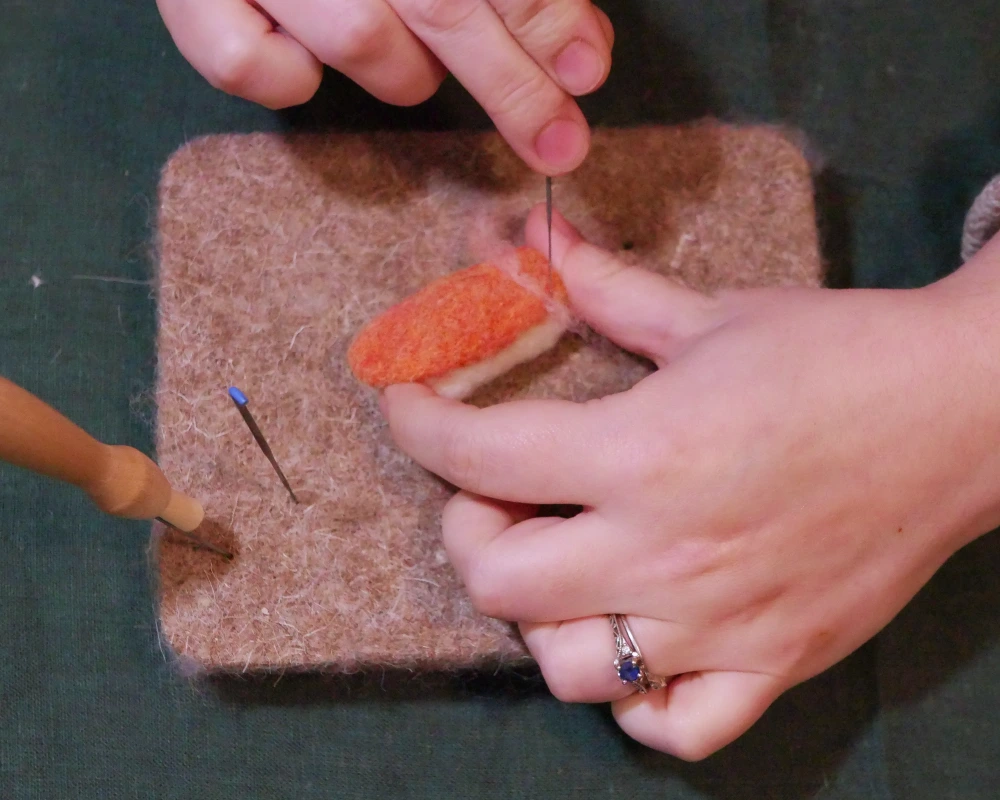
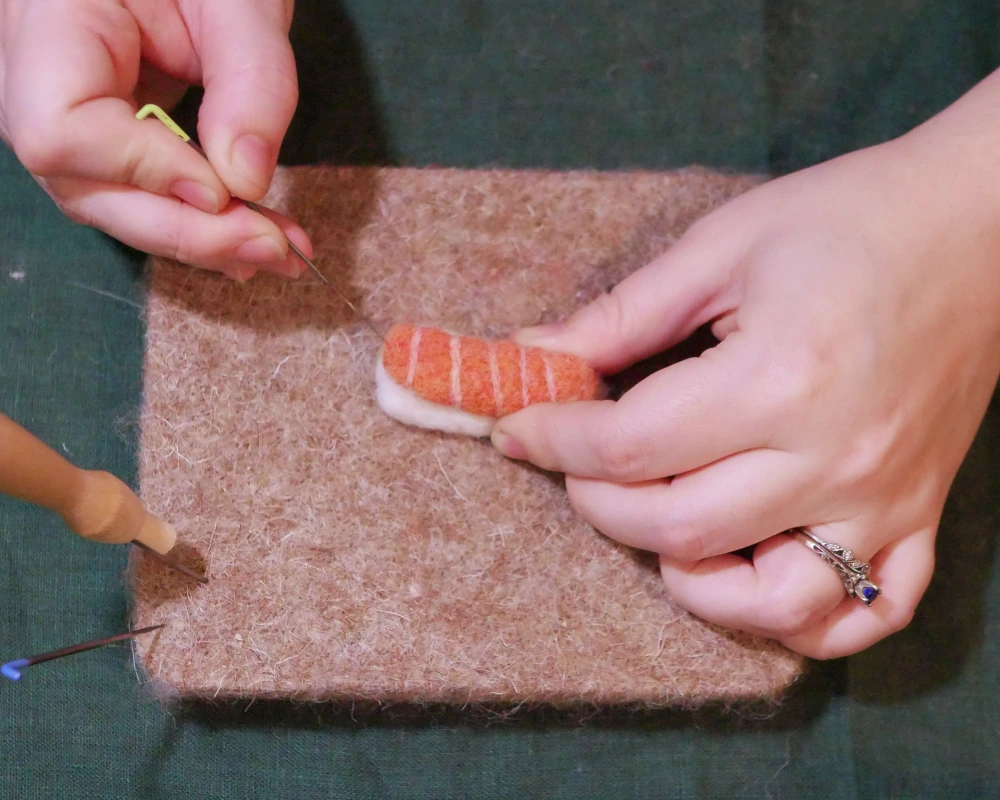
After you have the salmon and rice joined together to your satisfaction, lay thin strips of light pink wool across the top and work them in with a fine felting needle. While you join the pink and orange fiber, work the pink stripes until they sink below the surface of the orange wool. This will give the appearance of the striations on salmon and make your nigiri look even more convincing.
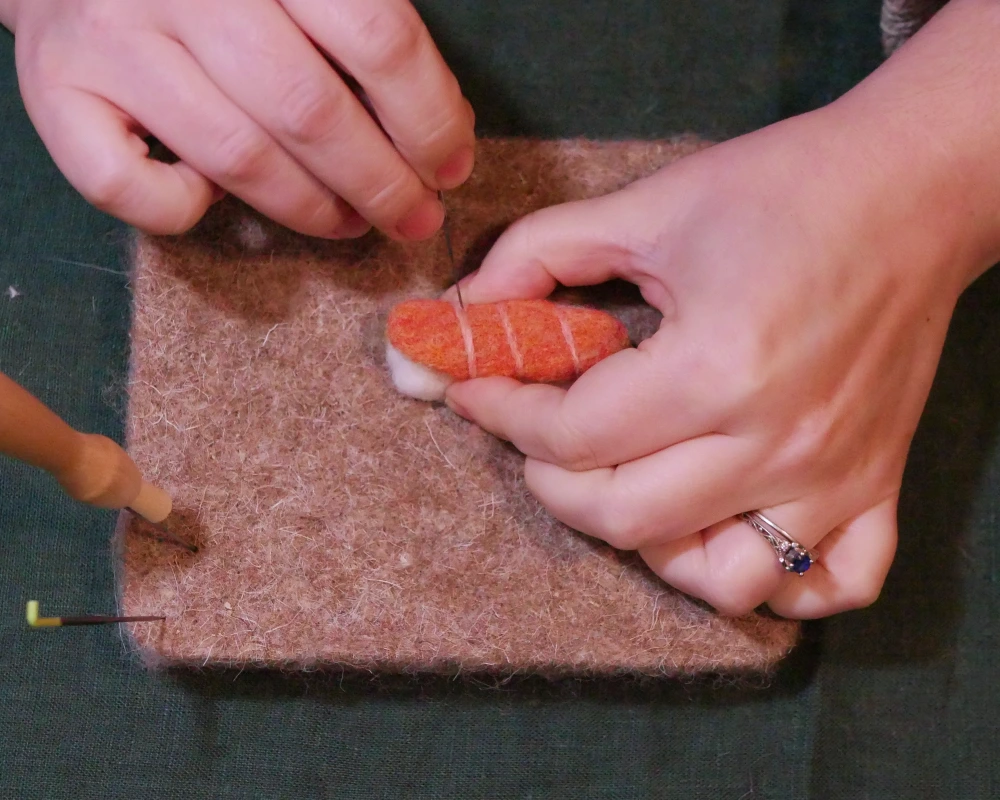
At the end of each of my felting pieces I like to go over it one last time with a fine felting needle and make sure all the fibers are tucked in and the lines and edges are neat. This really gives a finished look to your work.
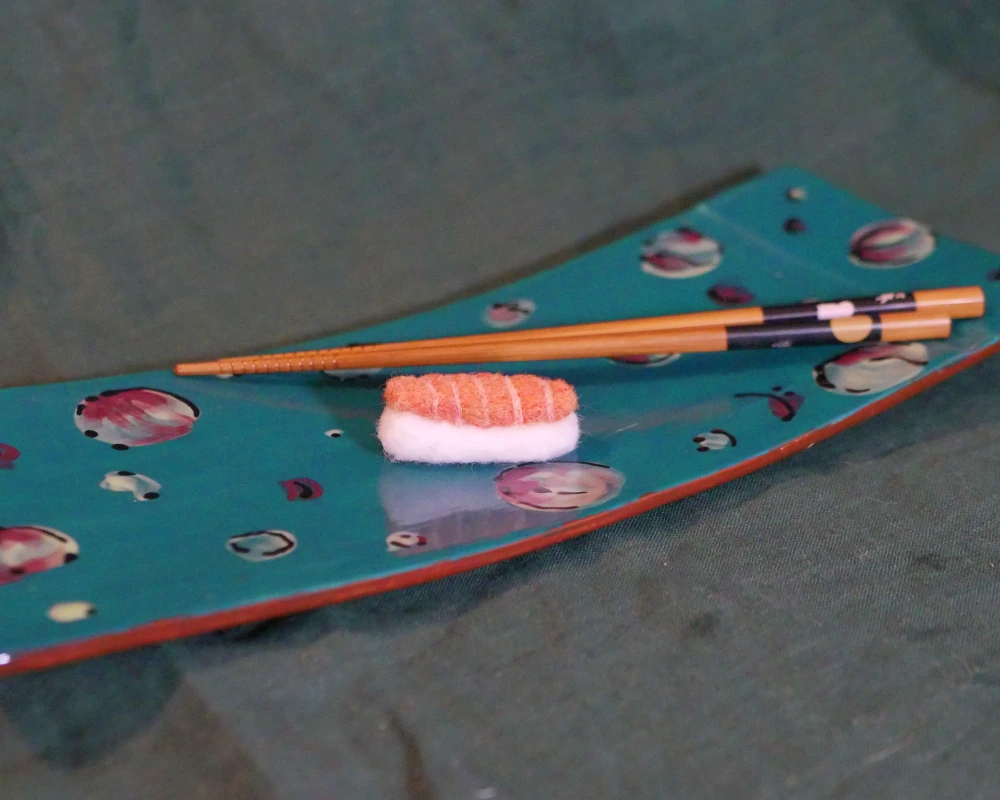
Show it Off!
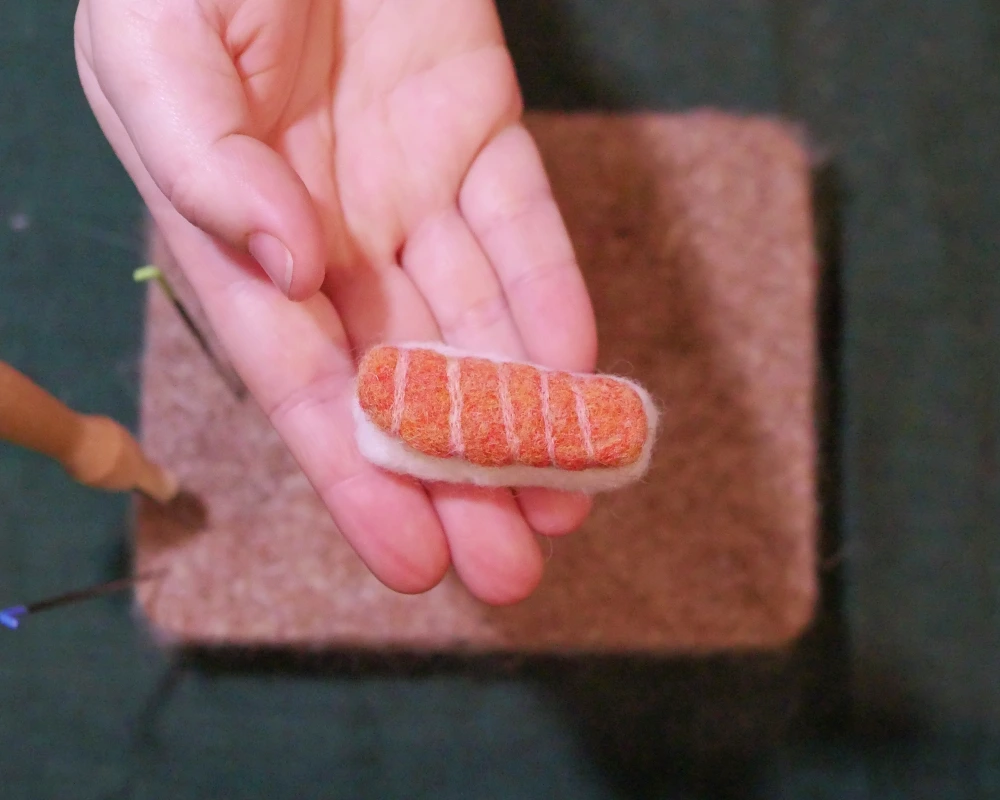
Your needle felted nigiri is ready to go! It makes a cute decoration, or an imaginative toy for a kiddo. I’ve even added a string through my needle felted creations to create unique ornaments.
For more needle felting tutorials, click here.
What’s your favorite sushi? Let me know in the comments below!